
The installation of radiator panels is a systematic project. Every detail in each link directly affects the heating effect, usage safety and service life. Many families have encountered problems such as water leakage, poor heat dissipation and high energy consumption due to neglecting installation details. The following is a summary of the core points to note throughout the entire process of radiator installation to help you avoid pitfalls and ensure installation quality. Adequate preparations should be made before installation. First, it is necessary to confirm the installation timing. For new houses, it is recommended to carry out the installation simultaneously with the water and electricity renovation to facilitate the concealed installation of pipes and wiring. For old houses, exposed decoration can be carried out after the renovation is completed to avoid damaging the existing decoration. Secondly, it is necessary to communicate with the property management in advance, especially in centralized heating communities. It is essential to confirm the heating water quality, pressure parameters, and whether private modification is allowed to avoid any violation of regulations affecting subsequent heating. At the same time, the direction of the pipes and the position of the radiator should be planned in advance. Combined with the structure of the house and the arrangement of furniture, sufficient space for installation and heat dissipation should be reserved. The installation process is strictly regulated. Pipe connection is crucial. High-quality pipe materials and fittings should be selected, and the joints should be well sealed to prevent water leakage in the future. The radiator must be firmly fixed, and the installation of the bracket should meet the load-bearing standards, especially for heavy-duty radiators, to avoid the risk of loosening and falling after long-term use. When installing, pay attention to the slope. The supply pipe and return pipe should maintain a reasonable slope to ensure that the air in the system can be smoothly discharged and avoid affecting heat dissipation. In addition, exposed pipes should be concealed as much as possible in hidden positions such as skirting boards and behind furniture, taking into account both aesthetics and practicality. Post-installation acceptance cannot be ignored. Pressure testing is a mandatory step. The test pressure should reach 1.5 times the working pressure and be no less than 0.6MPa. It should be maintained for 30 minutes to 24 hours to observe whether the pressure drops and whether there is any leakage at the interface. Any non-compliance should be rectified in a timely manner. After the acceptance is qualified, the installation technician should explain the basic operation methods such as exhaust, water replenishment and valve adjustment. At the same time, keep the installation contract and after-sales vouchers well, clearly define the scope and period of the warranty, and facilitate subsequent maintenance.
 Underwriting products
 24/7 service
 Trusted brand
 Support customization
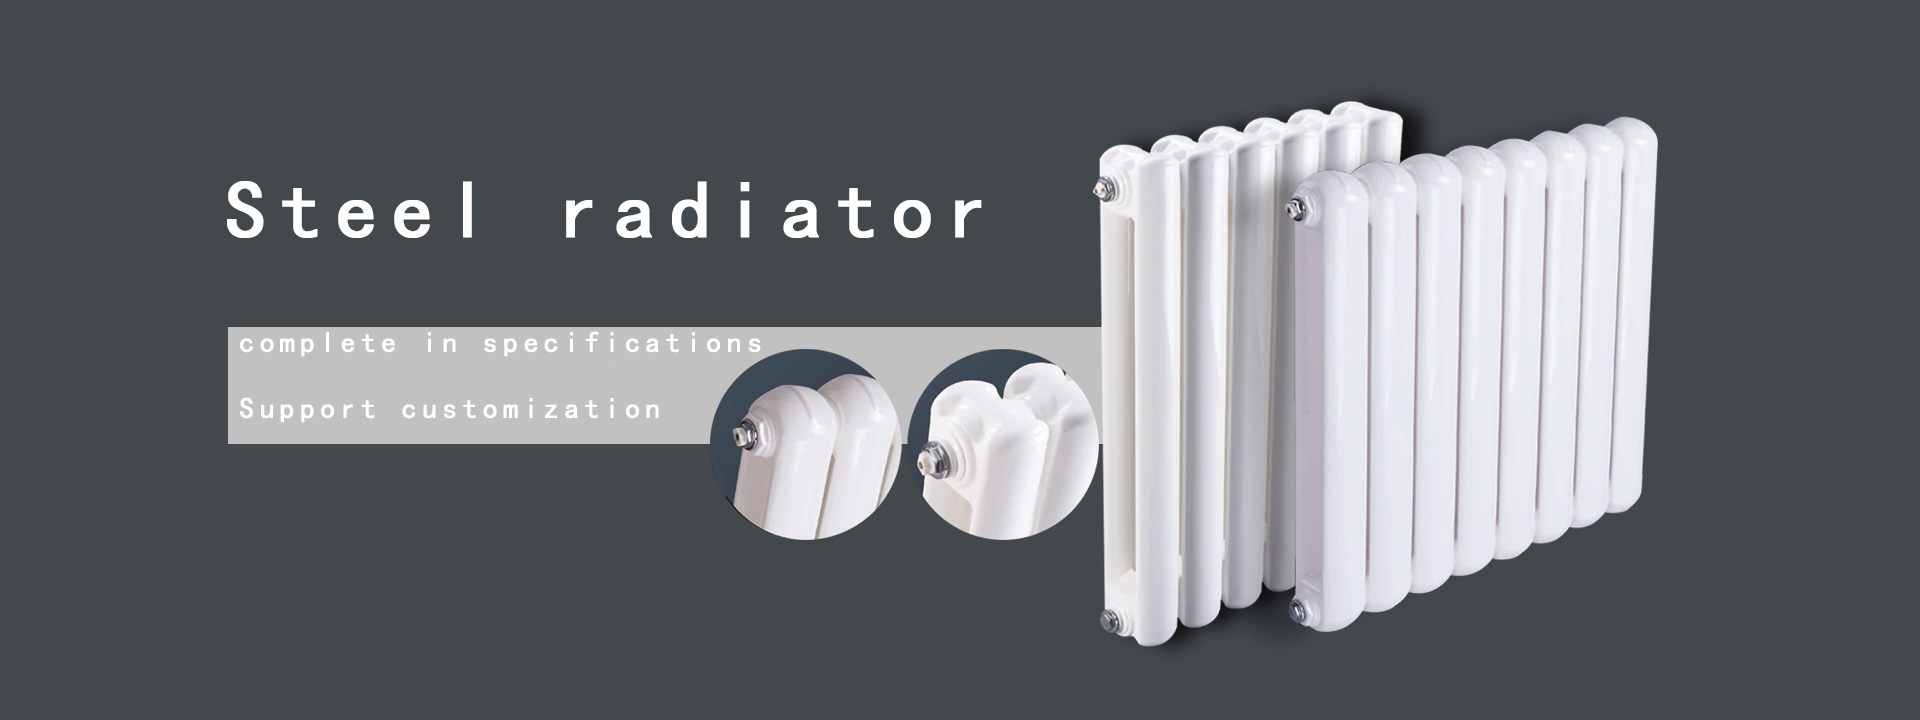